Showing posts with label Create a Critter. Show all posts

Wednesday, April 4, 2012

Hip Hippo Hooray

My niece is turning 4 this week.  Her birthday party was last weekend, so she has already received the card I made - loved the hippo.
This card is 5-1/2"x4-1/4".  There were a lot of layers to put together on this card.  I don't usually make cards with so many "little pieces", but I was really happy with how it turned out.  The Xyron makes putting all those little pieces together so much easier than glue!

The items I used for this card were:
  • Cricut Expression
  • Gypsy
  • Xyron
  • The Christmas Card Stack by DCWV
  • The Fun in the Sun Summer Stack by DCWV
  • Create a Critter Cricut cartridge
  • Cuttin' Up Cricut cartridge
  • From My Kitchen Cricut cartridge
  • Just Because Cards Cricut cartridge
  • Turquoise Stickles by Ranger
Thanks for stopping by!  Hope you've had some crafting time this week.

I'm linking up to:

Craft Junkie Too Friend

Monday, April 2, 2012

Cupcake Birthday Card

I'm back today with another birthday card for a dear friend of mine, Tracy.  Hopefully you get the card in the mail before you see it here. :-)

This was another card that was inspired by Pinterest.  See the original HERE from Kassidy at the Inking it Up Crazy blog.


This is an A2 (5-1/2"x4-1/4") card.  It was made with scraps from my stash.  The inside is simply stamped with Happy Birthday.  Here are the rest of the details:
  • Cricut Expression
  • Gypsy
  • Cuttlebug
  • Xyron
  • Create a Critter Cricut cartridge
  • From My Kitchen Cricut cartridge
  • Just Because Cards Cricut cartridge
  • Stamps from the Close to My Heart Cricut Art Philosophy collection
  • Spots and Dots Cuttlebug embossing folder
  • Swiss Dots Cuttlebug embossing folder
  • Craf-T Chalks Kit #2
  • Magenta Stickles
  • Ribbon (from my stash)
  • Foam tape
  • Black Exclusive Inks stamp pad by Close to My Heart
  • Sparkle Sheer Shimmer Spritz by Tsukineko
Thanks for stopping by today!  Hope to see you back again this week for some more new projects.

Thursday, March 22, 2012

18th Birthday Card

I wanted to share something different today.  Today I'm going to share the birthday card I made for my son's 18th birthday.  I can't take credit for the design ~ it's something I found on Pinterest.  If you want to see the original idea, you can see it HERE; it came from JulieH on the Cricut message board.
The card is a 6x6 square with the fold at the top.  The yellow mat is cut using the Art Philosophy Cricut cartridge exclusively from Close to my Heart at 5.87" wide.  The "happy birthday" mat is cut using the same cartridge but at 5.75" wide.

The "18" is cut from the Plantin Schoolbook Cricut cartridge and cut again using the shadow feature at 5.5" tall.  "Jonathan" was cut from the font on the Wild Card Cricut cartridge and welded using my Gypsy.  I played with the size until I was happy with the way it lay over the 18; I would make it a different size if using a different length name.  As JulieH explained in her original directions, I cut Jonathan three times, ran them through my Xyron, and attached them together to make it thicker.
On the inside, I cut a mat from the Art Philosophy Cricut cartridge at 5.75" wide.  The sentiment is cut at 5.5" wide from the Create a Critter Cricut cartridge.

Here are the supplies I used:
Cricut Expression
Xyron Creative Station
Art Philosophy Cricut cartridge from Close to my Heart
Plantin Schoolbook Cricut cartridge
Wild Card Cricut cartridge
Create a Critter Cricut cartridge
Black cardstock (from my stash)
Yellow cardstock from Hobby Lobby
Multi Colored Bday Words from The Paper Studio
Solid Glitter - Silver from The Paper Studio
Solid Glitter - Turquoise from The Paper Studio
Clouds from Colorbok

Hope to see you back at my blog soon!  Stop back tomorrow as I'll have some more of my scrapbooking layouts. 

Monday, February 14, 2011

Cheesy Valentine

Okay, inspiration can come from anywhere.  Looking through a cooking magazine one day, I saw an ad that sparked my creativity and knew right away what my daughter's Valentine was going to be.  Here's the ad that caught my eye:
Reiman Publications, Taste of Home, Feb/March 2011, page 11

Like many kids, my daughter would have cheese on her cheese for every meal of the day.  The card sentiment was great, but I knew I could use it much more creatively.  Here's my take:

I attached that cute little mouse with foam tape.  I used my Gypsy to hide one of the holes in the swiss cheese.  I then welded a heart in the spot where the hole had been.

In addition to cheese, she loves sparkles.  Stickles were a definite must-have for the hearts on the inside.
Details:
  • Cheese (Create a Critter accessory and shift/accessory) cut at 4"
  • Heart (Create a Critter shift/accessory) cut at 3.71"
  • Mouse (Create a Critter mouse, shadow, layer 1, layer 2, layer 3) cut at 2"
  • Phrase (Create a Critter phrase and shift/phrase) cut at 2"
  • More Than (Cursive 101 welded together) cut at 1"
  • Cheese (Create a Critter phrase placed off the mat and trimmed to delete "say") cut at 6.5" wide
  • Stone Gray Staz On ink
  • Magenta Stickles
  • Cardstock & ribbon from scraps
Have a wonderful evening!  Be back soon with another project.

Hoppy Valentine's Day

My son LOVES frogs.  He has frogs sitting all around the house - bobbleheads, stone statues, big, small.  What better than a frog Valentine for my "frog boy"?

Pinks and purples are not colors my teenage son loves, so I chanced looking "Christmasy" and used red and green on his Valentine.

I attached the frog with foam tape to give him some dimension.

The inside was printed on the computer and then cut to fit.

Okay, here's the details on this card:
  • Frog and layers (Paisley cartridge) cut at 3"
  • Lilypad (Create a Critter) cut at 3"
  • Cuttlebug Heart Blocks embossing folder
  • Stampin' Up ribbon
  • Xmas Red Stickles
  • Inkssentials opaque white pen
  • Lime green chalk Cat's Eye inkpad
I have one more Valentine to share with you.  I have to find the magazine that my inspiration for it came from to share with you before I can post.  Hopefully I'll have it up yet today.

Hope you have a wonderful Valentine's Day!

Sunday, February 13, 2011

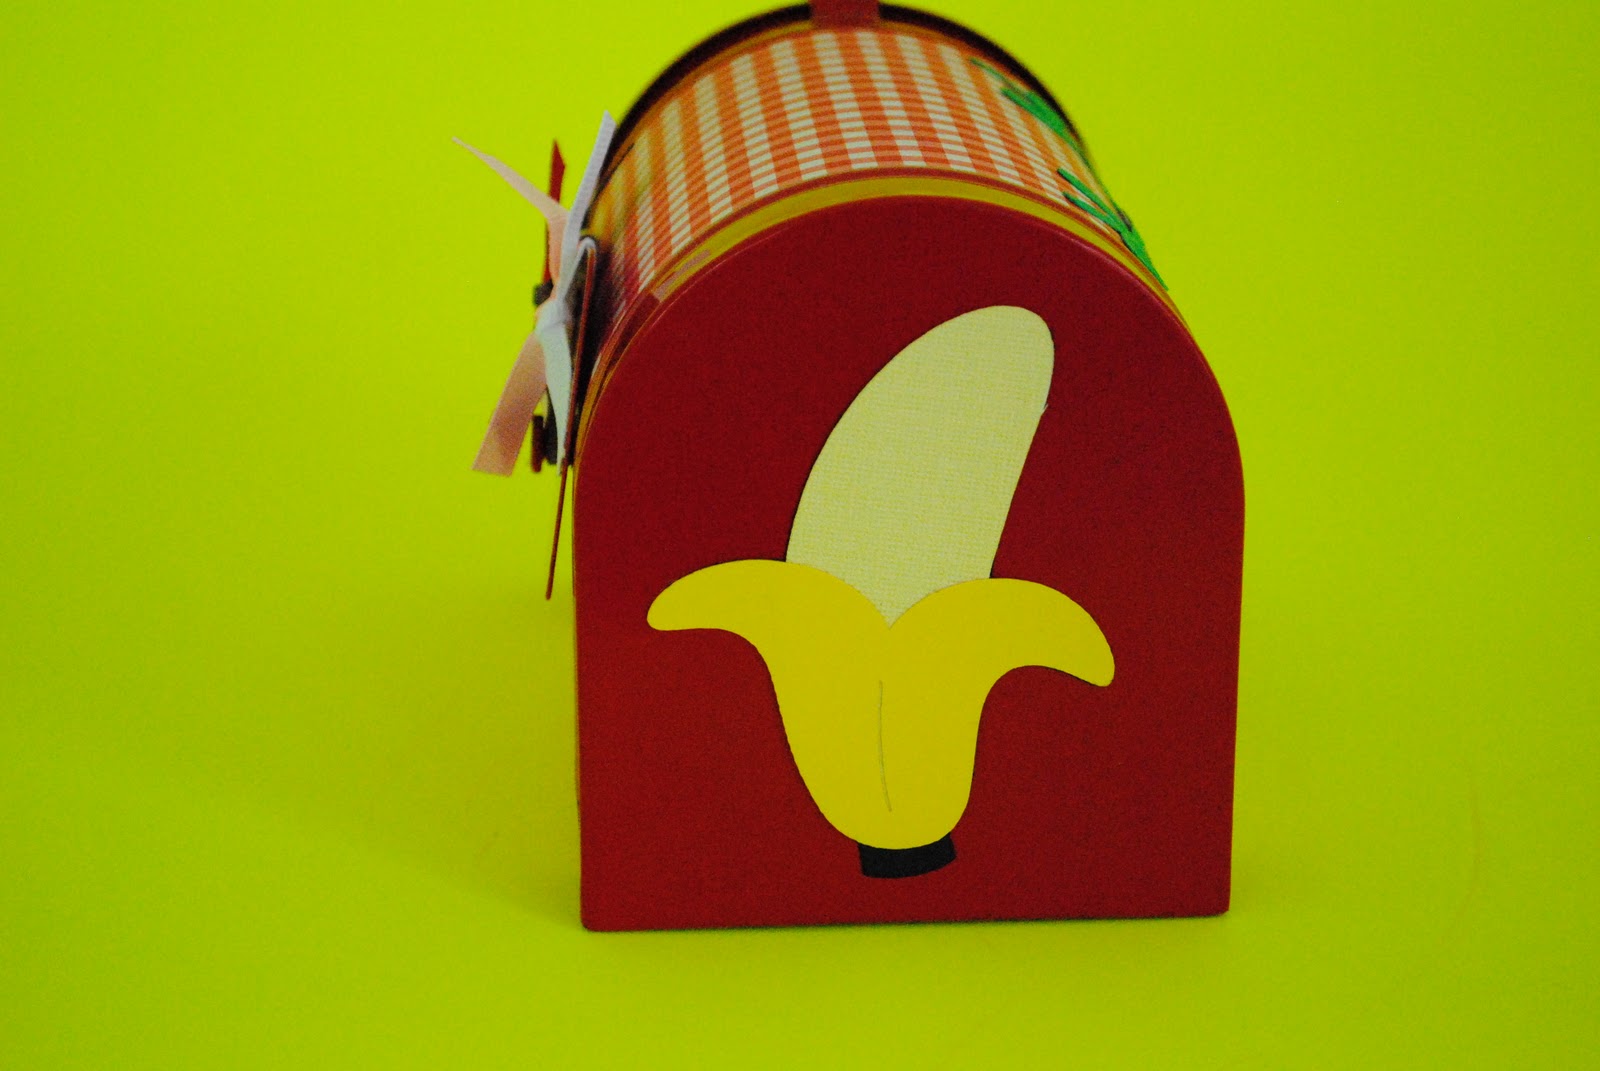
Valentine Mail Box

Hey everyone!  Here's a mailbox I made today for my niece for Valentine's Day.  She's not allowed to have a lot of candy, so I stuffed it with a few pieces of candy along with some Valentine barrettes, Valentine rubber ducks, and a jingly heart necklace.

I was able to use paper from my scrap stash to complete the entire project.  Everything was cut on the Cricut from the Create a Critter cartridge.  The ribbon tied to the mailbox flag is from Stampin' Up.

Front
Back
I just love this little monkey.  I wish I had some flocking at home to make him fuzzy, but it's probably just as well, since my niece is only two.

The cuts on the mailbox are:
  • Monkey, layer 1 & layer 2 - cut at 3"
  • Banana (shift monkey), layer 1 & layer 2 - cut at 3"
  • Vine (shift accessory) - cut at 3.75" wide
  • Balloon (shift koala), layer 1 & layer 3 - cut at 2.5"
I used my Gypsy to layout the pieces I needed to cut as well as to hide the faces that were on the balloon and bananas.  Using the mat guide on the Gypsy, I was able to cut everything at once by putting different papers on the mat.  Super easy project!

Hope you enjoyed.  I'm off to do laundry and then back to the crafting table for a few more projects today.  I'll be back to share them this week.

LinkWithin

Related Posts with Thumbnails